Hypertufa Grots
Gargoyles, Trolls, Grots - Protect Your Garden From Weeds with some Whimsical Garden Art
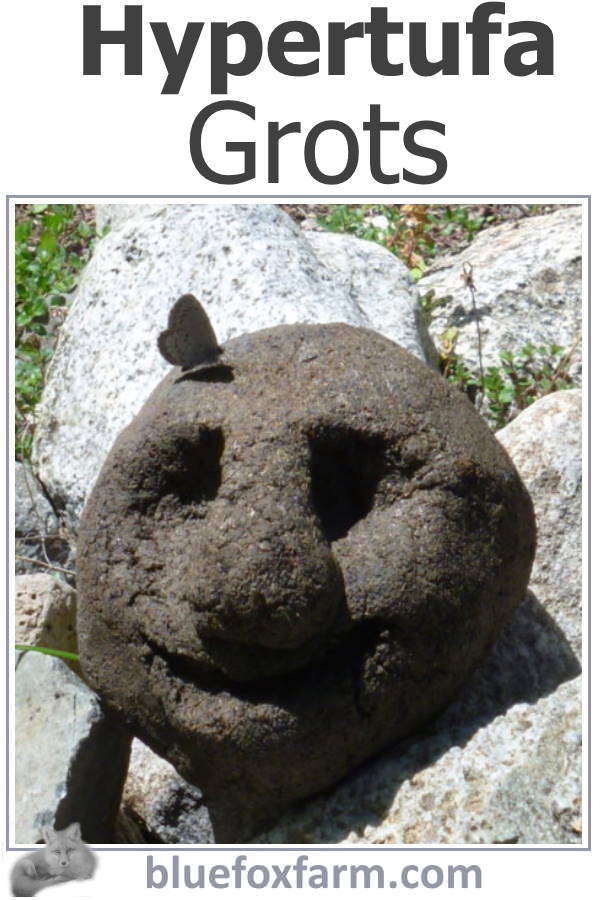
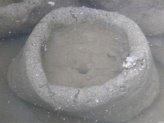
Hypertufa Grots, short for ‘Grotesques’ are funny faced planters, or in the case of hypertufa faces, a solid lump of the hypertufa mix, with a face sculpted into it while it’s wet.
The most important thing is to make sure the mix is, like in the story of Goldilocks and the Three Bears, just right.
If it’s too dry it won’t stick together, and crumble, and if it’s too wet, it will slump off your pipe mold.
Here's how to make Hypertufa Grots
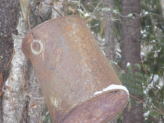
Put a length of black plastic sewer pipe or other cylinder into a plastic bag – this is the mold.
Pat a couple of handfuls of hypertufa mix as a base onto a piece of plywood covered with plastic so it doesn’t stick to it.
I put a hole in the middle of the hypertufa base at this point, as you’ll be unable to do it once the mold is in place, and you don’t want to forget the all important drainage hole.
Put the pipe upright in the middle of your base.
Start putting handfuls of the mix on opposite sides of the pipe, leaving a ledge to put the next layer on top. The thickness should be around 3-4cm (1-2") thick to give it enough strength to stand up under its own weight while drying.
Continue to as high as you would like your planter. Realistically, it won’t be possible to go much higher than about 20-25cm (8-10") tall, as the mix can’t support itself any higher than this.
It is possible to do it in sections, allowing one layer to dry and then adding more the next day if you want a really big hypertufa grot.
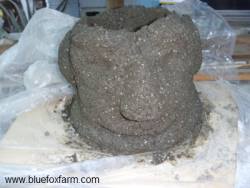
Sculpting the face is the most difficult phase of the project.
In some cases you will only ever get the suggestion of a face, so try not to be too caught up in making it perfect. Some highly skilled hypertufarists have built some spectacular masks and other garden art using special sculpting techniques, a steep learning curve.
A rudimentary nose, by adding a chunk of the hypertufa mix, eyebrows and ears, with indents for the eyes and mouth are all that’s necessary.
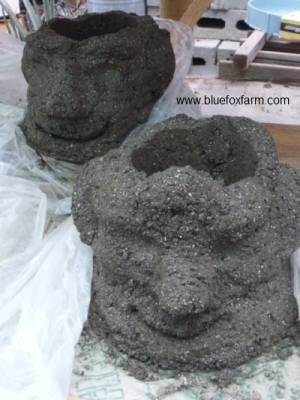
They each have their own character and personality, just like people. Some are grumpy, others sad, some are jolly.
Once you’re satisfied that it looks like a face, cover the whole thing with poly film and allow it to set up.
Check in 24 hours, and you can brush it with a wire brush if you like, or simply take off any burrs and excess mix.
Leave it covered for a couple of days then follow the curing hypertufa instructions.
Once your hypertufa grot is fully cured, plant it with Sedum to drape over the sides like hair, and a big Sempervivum for a hat, and you’ve got a really amusing little planter to display in your garden.
Let your hypertufa grot peer out from behind some greenery, or use them as focal points on your stairs.
Either
way, your visitors will get a laugh out of them, and if the story is
true, they’ll work hard to keep the weeds out of your garden. If whimsical garden art is your favorite garden decor, these will check all the boxes.

Other ways of making Grots are to take a baseball sized piece of hypertufa, and make the rudimentary parts of the face - hollows for eyes, a lump for a nose, and lips. You can refine these when the hypertufa dries a bit, or not, as you like.
See more grots on the page about Pope's Pots and more options on the latex hypertufa molds page.
Learn what it takes to be creative - we all have the gene but how do we develop it? Get the free guide!
Fill in the form below for your copy;
(Don't be disappointed - use an email address that will accept the free download - some .aol email addresses won't.
If you don't see your download within a few minutes, try again with another email address - sorry for the bother.)
