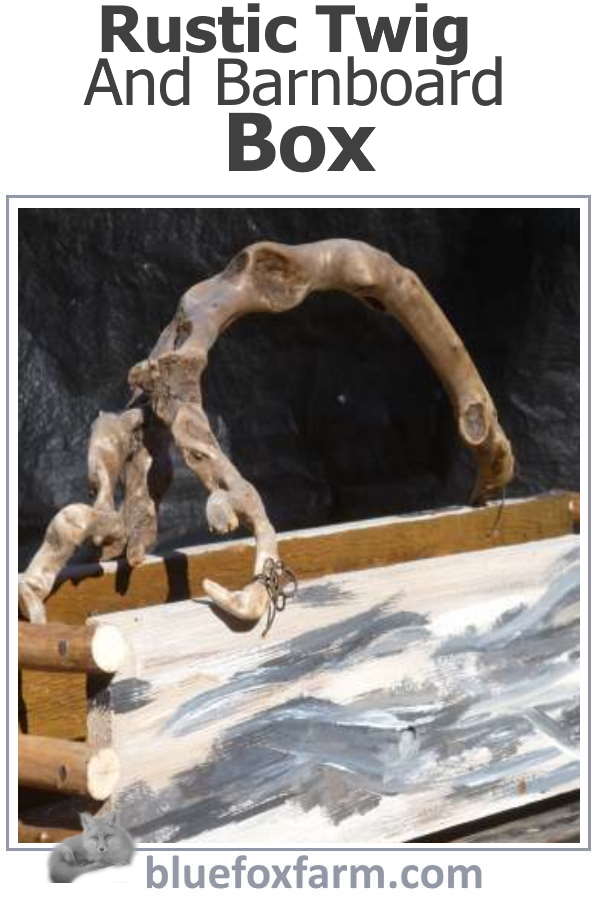
Rustic Twig and Barnboard Box
Make your own Shabby and Rustic Display
Jacki Cammidge is a participant in the Amazon Services LLC
Associates Program, an affiliate advertising program designed to
provide a means for sites to earn advertising fees by advertising and
linking to amazon.com. Other links on this site may lead to other affiliates that I'm involved with, at no extra cost to you.
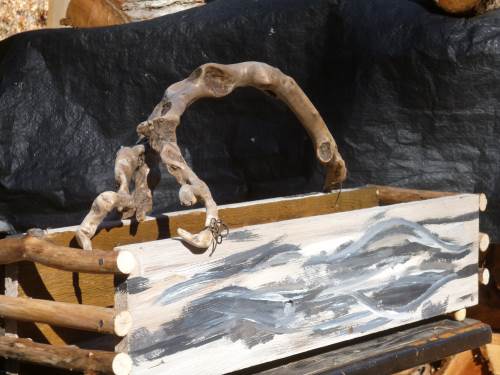
This DIY tutorial shows you how to make this rustic box - change the parts to give even more variety.
Use more twigs, paint the twigs, wax them, use weathered driftwood, or even paint them to just look like driftwood or barnboard (like this one).
There are so many options.
This is only the beginning.
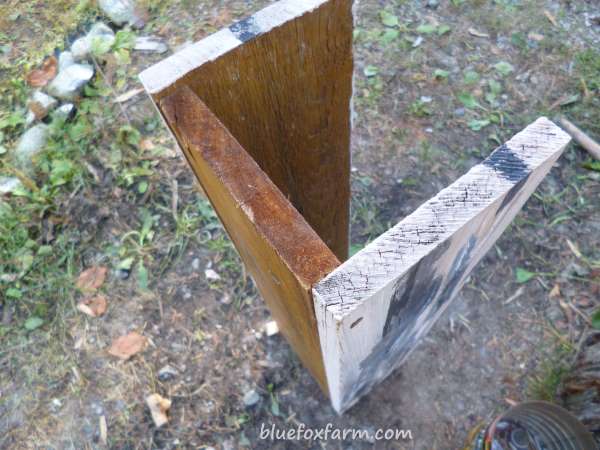
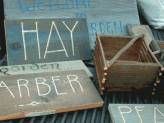
To start this project, you'll need three pieces of barnboard or old fence boards. Generally, these are well weathered, but often, they aren't evenly aged.
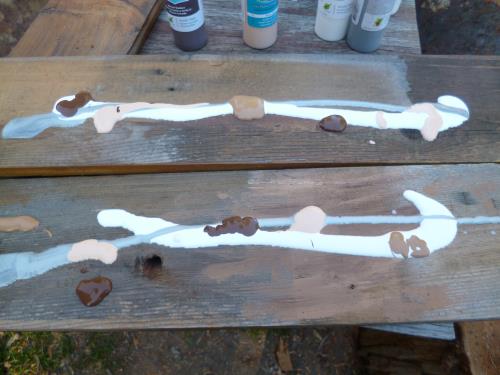
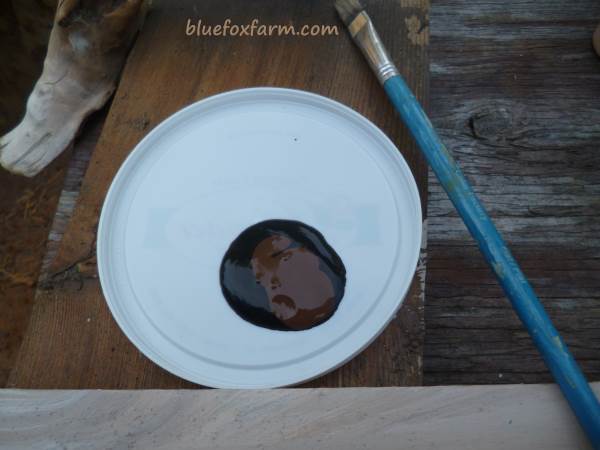
That's where the painting comes in. Use acrylic craft paints, which come in all kinds of colors.
If you don't have a dollar store handy, they are available online, like these from Amazon;
Recommended Paints and Accessories:
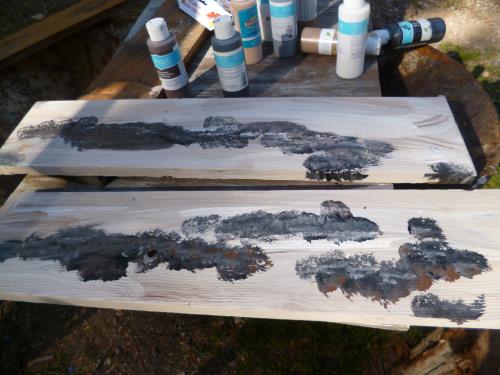
Generally, I start with a lighter color, like the silver and white, with maybe a bit of the darker colors dabbed on. This is the base coat.
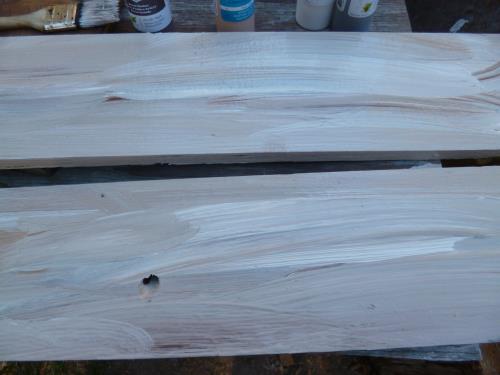
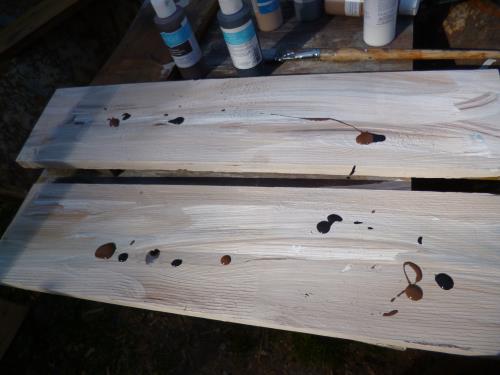
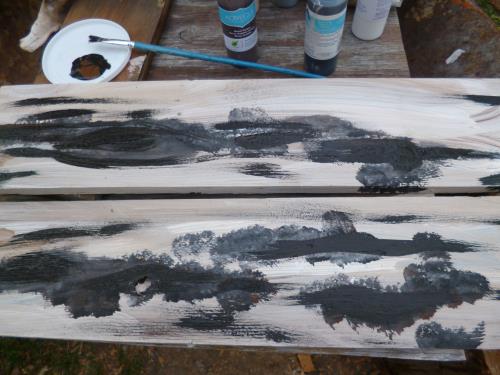
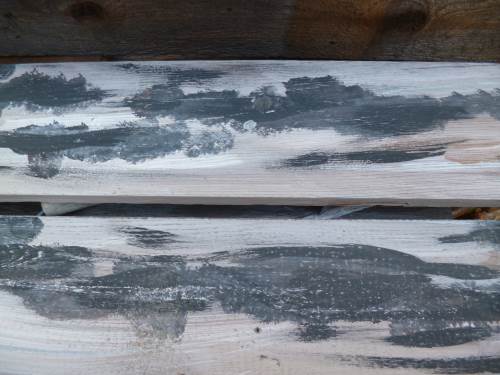
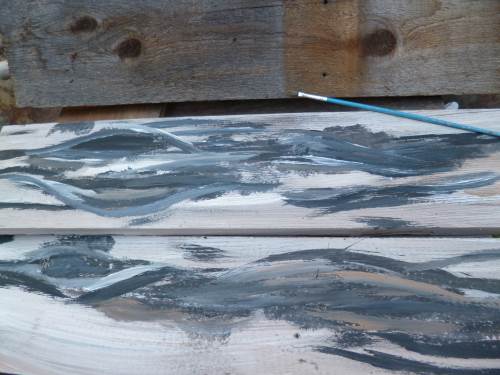
See the progression of the different layers here;
I do a total of about three to four coats (or even more), gradually using darker colored paint.
The trick is to use two to three colors that are not really mixed together, but left in the individual colors to blend together. There are no rules with this, although I find that it's really easy to go too far. Stop before it looks like you have overdone it.
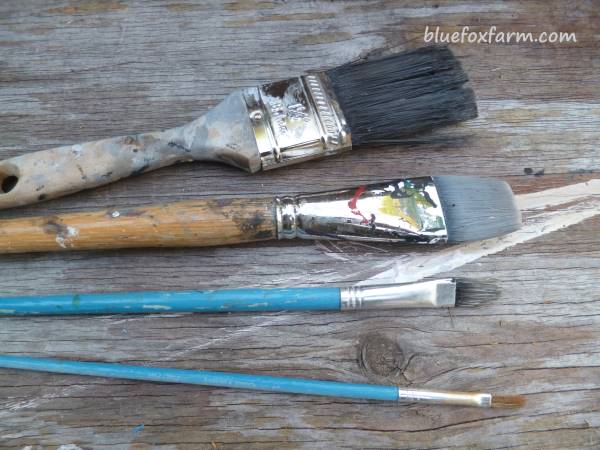
In total, I used four different sized brushes for this project. Each one adds yet more detail until you have the look you want to achieve.
Now the pieces are nailed together, being careful not to split the 'barnboard' - there are two ways to avoid splitting; either drill pilot holes where the nail will go using a drill bit a tiny amount smaller, or bounce the hammer off the point of the nail.
This dulls the point making it work through the grain of the wood rather than trying to go through it.
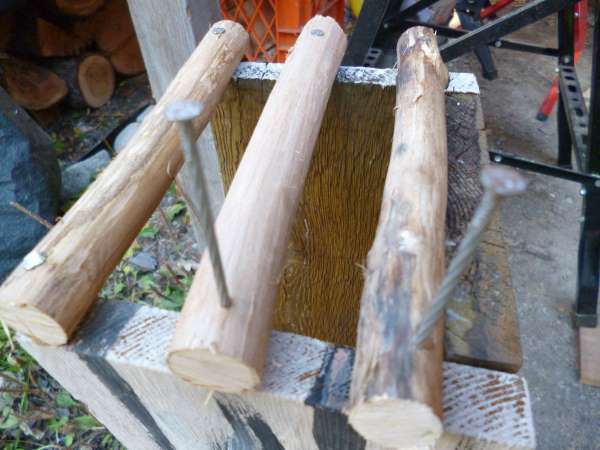
The pieces of twig are cut to length and these absolutely have to be pre-drilled. Here I've used amelanchier twigs - one of my favorite types.
There are lots of tools that you might prefer. Here are some that I keep in my toolbox;
You'll need these;
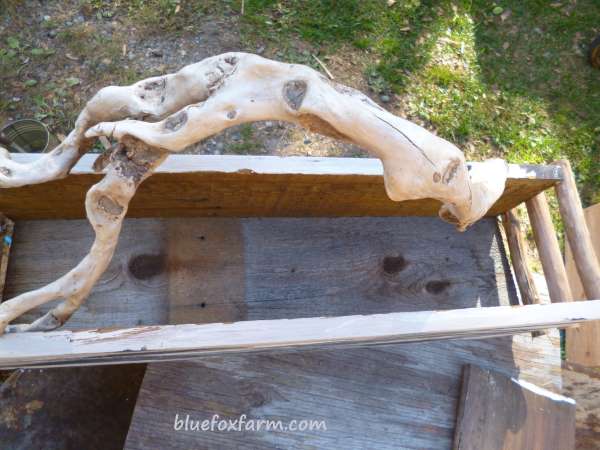
Next, choose your favorite piece of driftwood for the handle. This is an old weathered root, washed up on the shore after a long time in the ocean.
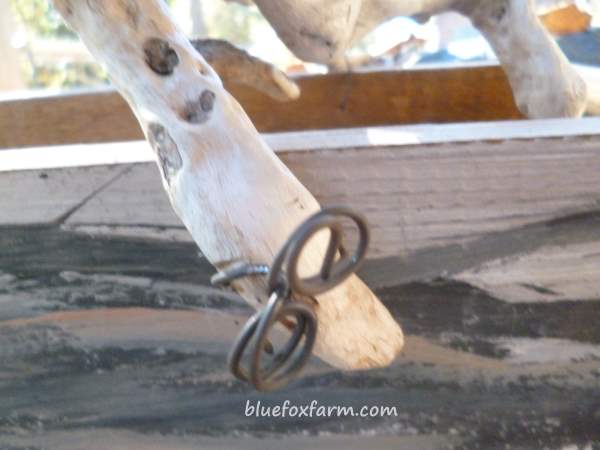
Wiring the handle on only takes a minute or two using my typical pigtail twist;
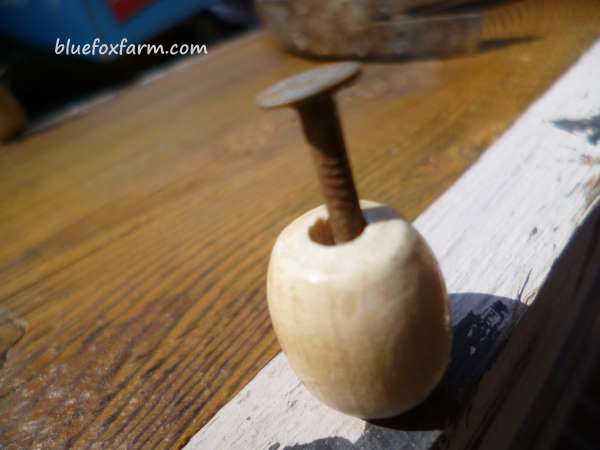
Other things to add to make your twig and barnboard box completely unique are bead feet; here's a picture of the ones
I've used in a super simple way; simply nail them on to the bottom of the side boards. If your boards happen to be a little less than perfect, use the feet to make the box level.
And that's it! Use your really rustic twig and barnboard box to keep your craft supplies in, for shampoo and rolled up hand towels in the bathroom, or to tote picnic supplies to your al fresco dining table under the apple tree.
Bet you won't be able to stop at just making one!
Learn what it takes to be creative - we all have the gene but how do we develop it? Get the free guide!
Fill in the form below for your copy;
(Don't be disappointed - use an email address that will accept the free download - some .aol email addresses won't.
If you don't see your download within a few minutes, try again with another email address - sorry for the bother.)
