Get the e-Book
Come into the garden and find some twigs - then, let's build! They can be rugged and rough, or more refined and smooth.
Whatever they look like, there's a craft for that.
- Home
- Rustic Garden Projects
- How to Break a Clay Pot for a Fairy Garden
How to Break a Clay Pot for a Fairy Garden
DIY Tips
There are lots of gorgeous fairy gardens made from broken terracotta pots. But what if you don't have one already broken beyond repair?
That's easy - break one yourself! There are a few tips that I've found useful. As the clay shatters, watch out! It makes sharp edges, so wear gloves and safety glasses
to protect your hands and eyes.
Always wear safety goggles or glasses to prevent shards from going in your eyes. That's paramount.
Gloves are always a good idea too.
I usually find a pot that already has a crack in it. Then it's almost okay to smash up a perfectly good pot.
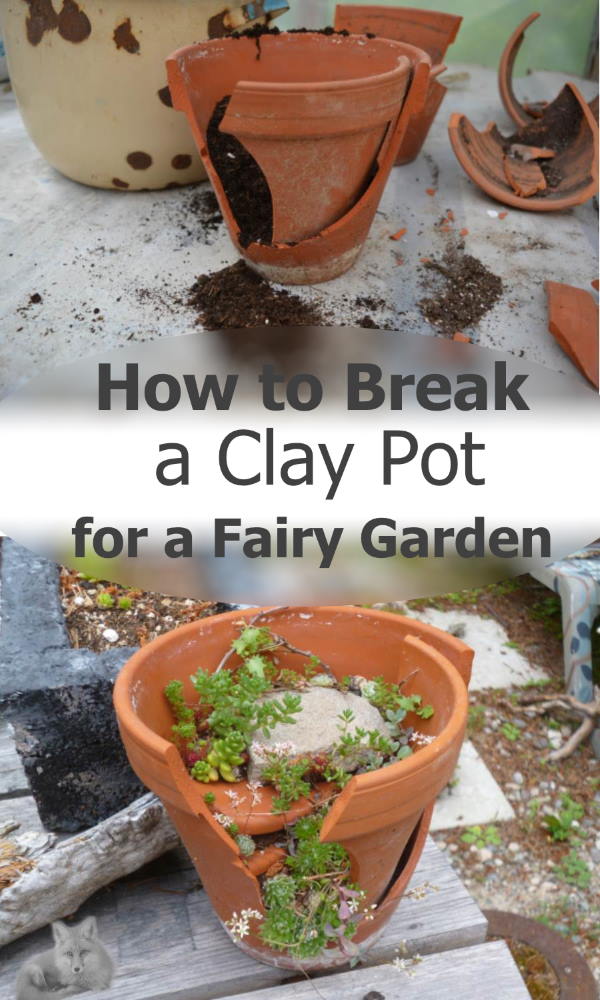
 Oops. I smashed this clay pot too much for this Fairy Garden...
Cover the pot with a piece of cloth like an old towel to prevent the shards from flying. Unwrap it, check to see if it needs another smack.
To get the pot to break pretty much where you want it to, put a piece of wood inside it, and hold it against the side you'll be hitting on the outside. This will stop it from completely shattering.
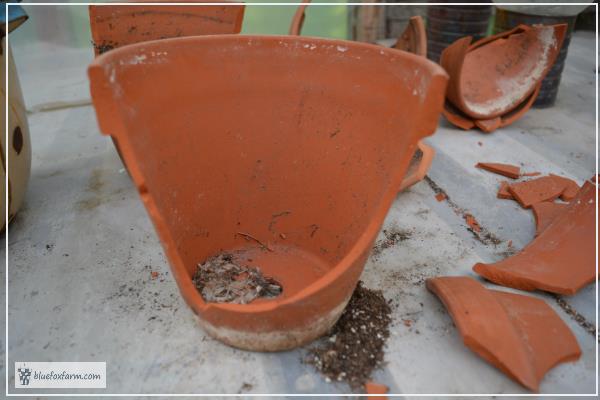 Success! This is what you are aiming for when breaking up a clay pot for a fairy garden
I sometimes use a piece of wood to hit it with instead of a hammer, which tends to just break it along any flaws that already exist, rather than smashing it to smithereens.
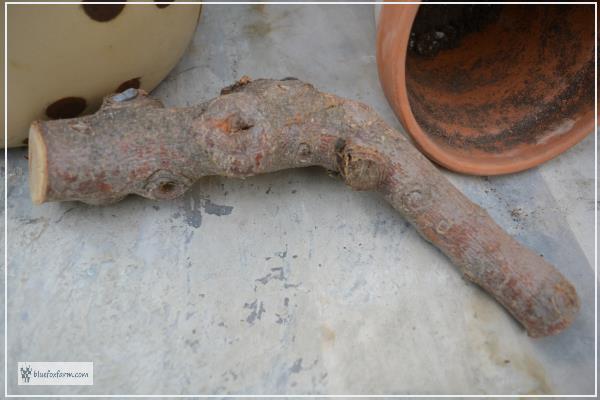 Sometimes a twig works for breaking up the terracotta pot
Once you have one large shard smashed, and several smaller pieces, with the main part of the pot still intact, then it's time to quit.
Sometimes this takes a bit of practice - I usually end up with lots of small shards to work with, not so much a few large ones.
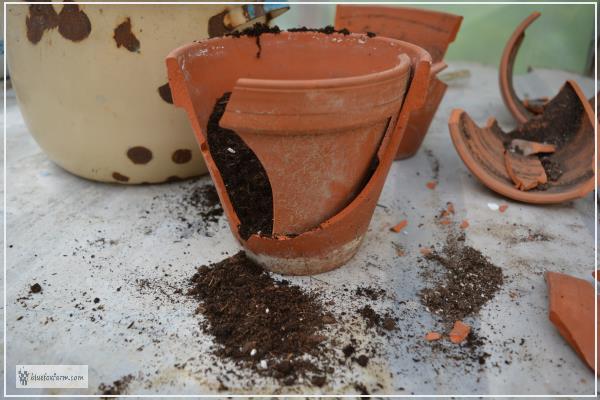 Reassembling the clay pot for the fairy garden
It's time to reassemble it, for your fairy garden.
The biggest piece is your main part, with the largest shard set back a bit and inside the curve of the main part.
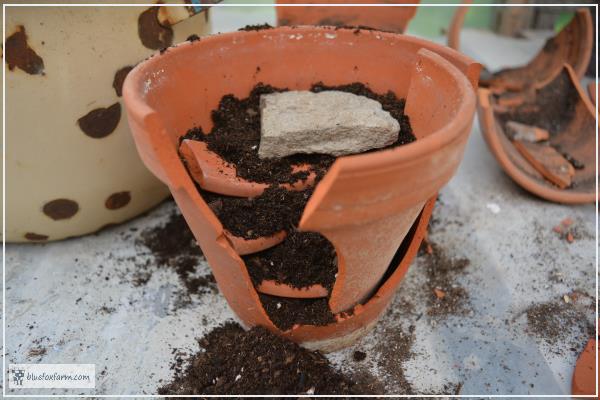 Tiny steps made from the edge of a clay pot are one of the first stages of a fairy garden
Put some soil in it to hold it in place, then take the smaller pieces and make them into the steps. Sometimes you need to break another pot to get enough of the rim pieces which make great stair edges.
Set them in place, using more soil to pack them into the right configuration.
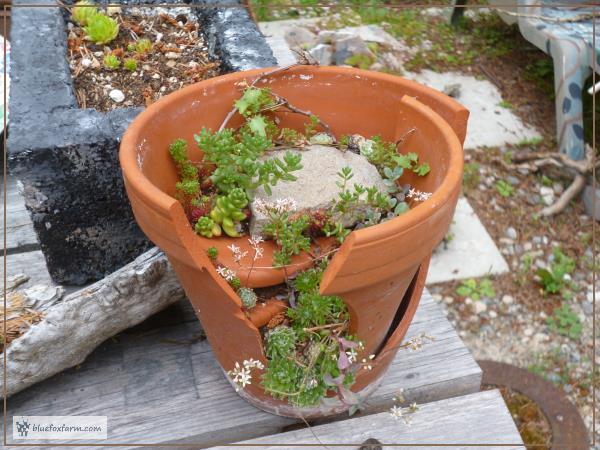 Later; this is what the clay pot looks like with plants in...
Plant with moss, tiny plants or gravel to make a patio or seating area. A tiny bench out of sticks is optional.
Mulch with screened sand or crushed lava rock to match the terracotta color of the pot.
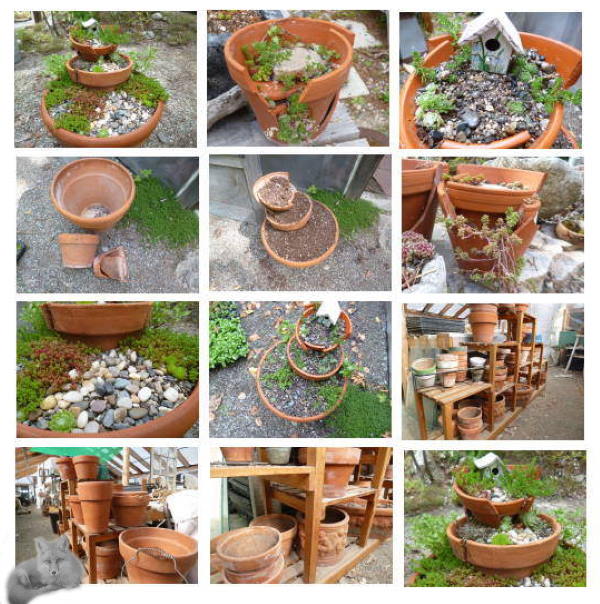 Which is your favorite Clay Pot Fairy Garden?
Later, like a few months, this is what the tiny garden looks like with plants getting established.
Tiny Sempervivum, Sedum and Thyme will keep it on theme.
Many garden centers and nurseries (online ones too) are specializing in fairy garden plants for exactly this purpose - enjoy the hunt for the best choice of tiny plants for your terracotta fairy garden.
If you're curious how broken pots, twigs and wire combine into magic, let's explore creativity in action.
Fill in the form below for your copy;
(Don't be disappointed - use an email address that will accept the free download - some .aol email addresses won't.
If you don't see your download within a few minutes, try again with another email address - sorry for the bother.)
