Get the e-Book
Come into the garden and find some twigs - then, let's build! They can be rugged and rough, or more refined and smooth.
Whatever they look like, there's a craft for that.
- Home
- How to Make Hypertufa
How to Make Hypertufa
Tips & Techniques for a unique rustic garden craft
Jacki Cammidge, The Woman of Many Sticks, is a participant in the Amazon Services LLC Associates Program, an affiliate advertising program designed to provide a means for sites to earn advertising fees by advertising and linking to amazon.com. The cost to you, if you purchase something through my link, is the same.
Are you dying to learn how to make hypertufa?
Here’s the right place to get instructions for making some unique garden art, and recipes to try.
What is Hypertufa?
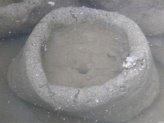
Tufa is formed by volcanic activity. It has tiny holes and bubbles, making it easy for plants to root into and also lightweight. Hypertufa attempts to copy those properties.
Mainly composed of cement, perlite (or vermiculite), and peat moss, hypertufa mimics tufa, a natural porous rock coveted by skilled gardeners for its great air exchange and superior root growth conditions.
Its rustic appeal, dependability, and versatility make hypertufa an ideal substance to create distinctive garden pottery and other crafts.
The origin of hypertufa can be traced back to the discovery of tufa rock.
Tufa, a form of limestone, proved optimal for use in alpine gardens use due to its porous nature. However, its scarcity and difficulty to harvest made it a less attainable resource for many garden enthusiasts.
Gardeners then sought alternatives, leading to the invention of hypertufa — a blend of readily available materials designed to mimic the beneficial properties of natural tufa. With the knowledge at hand, gardeners started to create lightweight, sturdy, and frost-resistant garden pots and decorations.
Once your workspace is set up and your tools are ready, you can begin the process of making hypertufa. It boils down to a straightforward four-step process: creating your mixture, molding, curing, and drilling.
To begin, locate a large mixing container, such as a tub or wheelbarrow. I prefer a bussing tub, which is around 4" deep to prevent the materials spilling over the sides. Pour in equal parts of peat moss and perlite, followed by the Portland cement.
You can alter this ratio slightly to fit for the planned object's size and intended use.
Mix the dry ingredients thoroughly. The goal is to ensure your perlite and moss are completely coated in the cement to create a homogenous hypertufa mixture. This step is crucial to attain a strong final piece.
After mixing the dry ingredients, slowly add water while continuing to stir or knead, kind of like making very loose bread.
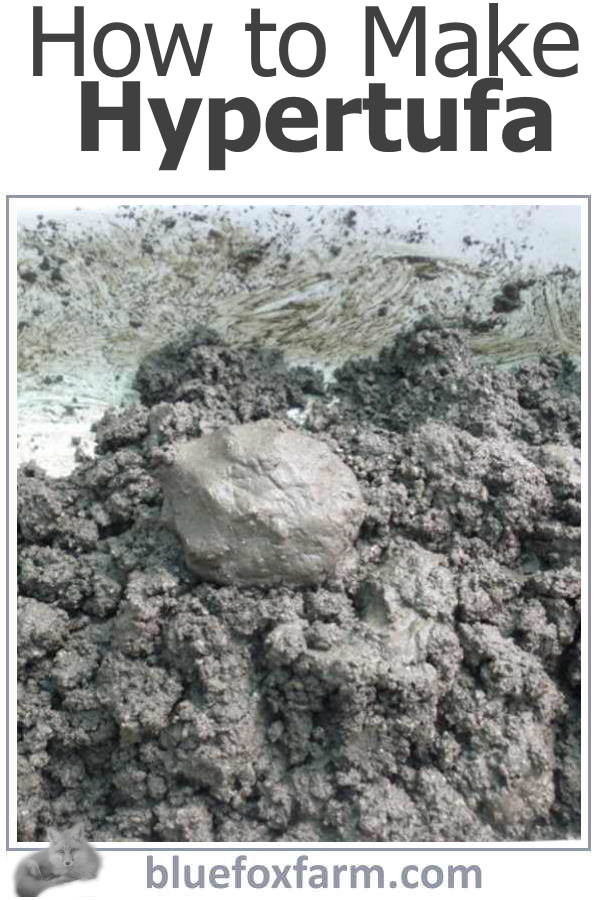
The optimal consistency of hypertufa resembles that of chunky cottage cheese or a slightly dry, crumbly cookie dough that clumps together when squeezed.
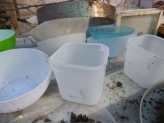
You've now created your hypertufa mixture, and it's time to mold it into your desired shape. You can use any form from a plastic pot to a cardboard box for this process. Line your mold with a plastic bag to allow for easier release later.
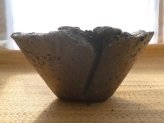
Fill the container, ensuring you press the mixture down firmly to eliminate any air pockets and to create an even, thick wall. You can choose to leave the top edge rough for a more rustic look or smooth it out for a neater finish.
Once the mold is packed, cover it with another plastic bag, ensuring it is sealed. The hypertufa needs to cure slowly, so the moisture is important.
This is a slow process, generally taking between 24 to 48 hours depending on the size of your creation and the ambient temperature.
Once set, but still a bit damp, you can easily make refinements. This stage is also the best time to drill your drainage hole using a masonry drill bit, as mature hypertufa pots can be a bit tougher to handle.
After drilling, the hypertufa needs to cure fully. This curing process usually takes between 2-4 weeks. To track the progress, you can feel the sides. If they remain cool to the touch, they're still curing.
Once fully cured, your hypertufa pot is ready to be put to use. The distinct texture will add an element of rustic charm to any space, and its porous nature offers great growing conditions for your plants.
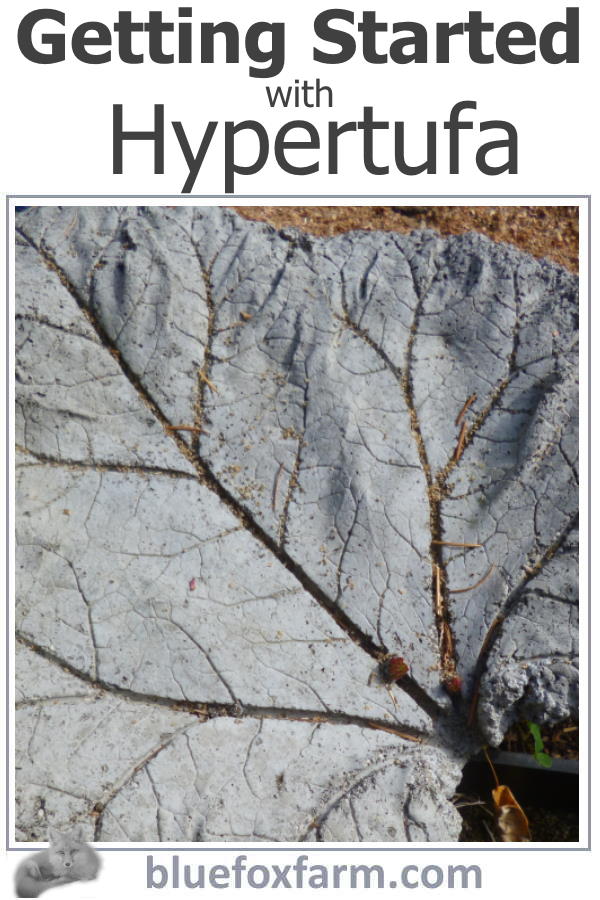
Hypertufa isn't just for pots. The material can be used creatively to make a variety of garden objects.
From fairy houses to birdbaths and stepping stones, the tutorial of garden crafts can get quite interesting. Be it a tutorial of garden crafts or a guide on making different plant pots, hypertufa can easily be moulded and manipulated to cater to your needs.
For gardeners looking to express their creativity, making hypertufa offers an opportunity to customize garden pots in a myriad of shapes, sizes, and styles.
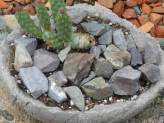
Known for its excellent air exchange, hypertufa allows for better root growth, making it an ideal potting medium for succulents and alpine plants that prefer well-drained soils and rustic conditions.
The beauty of hypertufa is truly in its versatility. Each gardener's hypertufa creations will be unique and personal, much like their garden. They're sure to provide a delightful surprise to strolling visitors or offer a charming novelty for the gardener themselves.
With a little practice, you can even elevate your hypertufa game, perhaps embedding bits of coloured glass or shells, or even carving patterns or your initials into the hypertufa before it fully sets.
Hypertufa offers an interesting option to traditional garden pots. Making your own is fun and helps create unique displays of all your special plants.
Creating with hypertufa is also a resourceful and sustainable venture. Instead of buying new pots, you can upcycle various household items to serve as molds, adding to that rustic appeal and reducing waste.
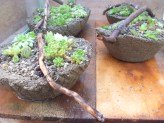
Imagine your selection of interesting pots overflowing with Sedum, cactus and other plants that like fast drainage on your patio. Feel proud of what you've created.
Equipped with the know-how, you can create any conceivable shape and imprint it with your style. The results are not only aesthetically pleasing but also provide an optimal environment for your plants' growth.
The process of making hypertufa can be therapeutic and rewarding, especially when you see your plants thriving in a container you built yourself. The joy of making something unique and personal for your garden is unparalleled.
Whether you're creating a garden pot, a garden decoration, or some other intriguing object, the mastery of hypertufa opens up a world of garden craft opportunities.
Not only does creating with hypertufa exert your creativity, but it also provides fun, exciting, and tangible rewards.
Crafting
your hypertufa pots or garden decorations can provide you with not just
a sense of accomplishment, but a deeper connection to your garden.
Every time you glance at its rustic beauty, you're reminded you added a
bit of yourself to your garden.
Explore the art of making hypertufa and redefine the aesthetic landscape of your garden. From the simplest garden pots to complex garden craft masterpieces, the possibilities with hypertufa are limitless.
Alongside bringing charm to your garden, learning how
to make hypertufa is also an interesting and valuable skill to share
with fellow plant enthusiasts. If you decide you really love doing it,
you could be making a business out of it.
Even organizing a hypertufa pot-making event can be a great way to spend time with gardening friends and family, sharing techniques, laughing at failures, and celebrating successes.
In a world rapidly shifting towards a throw-away culture, mastering the art of making hypertufa garden pots serves as a reminder of the beauty and value of creating something long-lasting with your hands.
Through its captivating texture, natural appeal, and encouraging growth conditions, hypertufa taps into the essence of what it means to be an artist and a gardener.
Hypertufa is not only about the end product but also about the process. The joy isn't only in the final, solidified piece but also in the moment of creation - the mixing, molding, experimenting, and waiting.
With hypertufa, each pot or craft becomes a living entity that enhances the beauty of the plants it hosts. It's not just a pot; it's a testament to your creativity and love for your garden.
Hypertufa creations can eventually become family heirlooms passing down generations, connecting you and your garden to the future and those who will treasure them.
When creating hypertufa pots or decorations, remember to let your creativity run rampant. Experiment with different molds, textures, and ideas to end up with a unique work of art that reflects your personality.
In the end, making hypertufa isn't just about making a pot; it's about making a statement, expressing creativity, and bringing a piece of your personality into your garden.
The transformative process of making hypertufa embodies a creative spirit - it doesn't just enhance your garden's aesthetic appeal but invigorates you in the process, proving therapeutic.
Not all recipes will work for every project, as many are better for smaller containers and pots.
Your studio might be used the most in spring and fall - summer is a bit hot, and it's uncomfortable to work in. Best temperatures for you and the hypertufa is around 21 degrees C. or near 70 degrees F.
Now, onto the workspace. Ideally, the perfect workspace for making hypertufa pots is a smooth, flat, and easily cleaned area. A cleared tabletop or a piece of flat plywood on a pair of sawhorses would work just fine.
Ensure the work area is well-ventilated if you are working indoors, as the hypertufa can produce dust. To further guarantee safety, use a dust mask, goggles, and ideally, a pair of water-resistant gloves to protect your skin from tiny cement particles.
Extremely strong mixes of hypertufa are necessary for hypertufa birdbaths and other large garden art projects such as hypertufa troughs.
Instructions for Making Hypertufa
Please see the section on Hypertufa How To - Safety before you start.
Recipes for hypertufa are limitless, but some work better than others.
Keep in mind too that not all cement powder, peat moss or sand is created equal, and regional differences mean that even if you follow the recipe exactly your results may differ.
Not to worry, this is a very forgiving craft even if you don't succeed immediately.
The pieces of projects that don't survive can still
be used; stick them together to make a really rustic container with
rugged texture, or recycle them as drainage material in a rockery or
planter, or for my favorite use, as a mulch around Clematis which love
the alkaline pH of the decaying pieces.
Use this recipe as a guide, and test it on smaller projects first, such as pinch pots.
Once you get an idea of how the materials perform, you can feel more confident about making bigger hypertufa projects such as larger containers, troughs and birdbaths among other unique rustic creations.
Now for the essential tools. You'll need a mixing tub or wheelbarrow for blending the hypertufa mixture, a trowel for scooping, packing, and smoothing, and some moulds for shaping your pots or whichever garden craft you've set out to create.
Alongside these tools, you will need ingredients for your hypertufa mixture.
These usually include Portland cement (not concrete), peat moss, and perlite or vermiculite. You may also need water to bind the materials and some optional concrete fortifier for added strength.
Mix one part by volume of each of the following: (this means use several yogurt containers, coffee cans or other measuring container so you can measure each part using the same sized container)
My Hypertufa Recipe:
Cement powder – sometimes called Portland cement.
Avoid using pre-mixed mortar as this contains sand which may impact the proportions.
Peat moss – sometimes called sphagnum peat moss.
Sieve this through mesh to remove twigs and large clumps. The screen should have 5mm (1/16") openings.
Perlite – adds bulk without weight, but make sure you use a dust mask as the dust is harmful to breathe.
Sand – Builders sand is used by construction companies; don’t use beach sand as it may contain salt.
I have also replaced sand with sandblasting material, which in this case was slag from a mining operation.
Use a mix of 1:1:1 of the first three ingredients (one part by volume of each ingredient) to start. Sand (or alternate material) is optional.
Add water to mix to a consistency of peanut butter (plastic and malleable). Test it by making a ball of the mix and drop it back into your tray - it should hold together, not crumble, on impact.
Place it in your prepared mold, and form it into place. Avoid over working it, as it will just crumble. Some recipes also contain fiberglass strands, vermiculite and other additional materials such as horsehair.
Want to download this recipe to print it? Find the printable hypertufa recipe here.
You can test these quantities after you get the basic recipe to work.
Once you’re confident you know how to make hypertufa, the world is your oyster. I’ll bet you won’t be able to stop at just one hypertufa project for your garden.
Here's what you'll need for this project - buy the supplies from Amazon; you'll need one part by volume of Peat moss,Interested in learning more about making hypertufa and getting inspiration? Sign up to Get Started with Hypertufa:
How to Reinforce Hypertufa
Sometimes, all it takes is to crush up some chicken wire. This is how to make faux rocks.
Salvaged wire pieces can be used too - or just keep it really simple and use fabric, netting (like pea supports) or even t-shirt material. All it takes is something to give the hypertufa something to cling to.
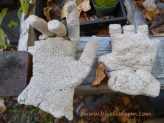
Draped hypertufa was developed using old towels or other pieces of material, dunked in a slurry of hypertufa mix, then draped over a mold, stool, tree stump or upside down pot to dry.
I've also made the same kind of thing using pieces of fabric to make faux driftwood.
If you're curious how broken pots, twigs and wire combine into magic, let's explore creativity in action.
Fill in the form below for your copy;
(Don't be disappointed - use an email address that will accept the free download - some .aol email addresses won't.
If you don't see your download within a few minutes, try again with another email address - sorry for the bother.)
