Get the e-Book
Come into the garden and find some twigs - then, let's build! They can be rugged and rough, or more refined and smooth.
Whatever they look like, there's a craft for that.
- Home
- Twig Crafts
- Twig Craft Tools
Twig Craft Tools
Tools to Include in your Rustic Craft Toolkit
Jacki Cammidge, The Woman of Many Sticks, is a participant in the Amazon Services LLC Associates Program, an affiliate advertising program designed to provide a means for sites to earn advertising fees by advertising and linking to amazon.com. The cost to you, if you purchase something through my link, is the same.
Luckily for us, the twig craft tools you’ll need to build most of the twig crafts on this site are already in almost every tool box. If you have done any home repairs, or renovations, these are commonly used for any of these projects.
Simple everyday and common tools that you will use most often when making your twig crafts are:
Tape measure
- in metric or inches, whichever you’re most comfortable with. I use
metric measurements on the site, so you’ll need to know how to convert
the most common measurements. This conversion calculator website will help with converting any measurements.
Drill – cordless drills with rechargeable batteries are fairly cheap, and easy to use. If possible, have two available – one with a drill bit to drill pilot holes, and the other to screw the drywall screws in. That way, you’re not constantly fiddling with it to change from drill bit to screw bit.
Drill bits in various sizes to fit the above item, including some for screwing in different types of screws, such as Robertson head, Phillips and flat head.
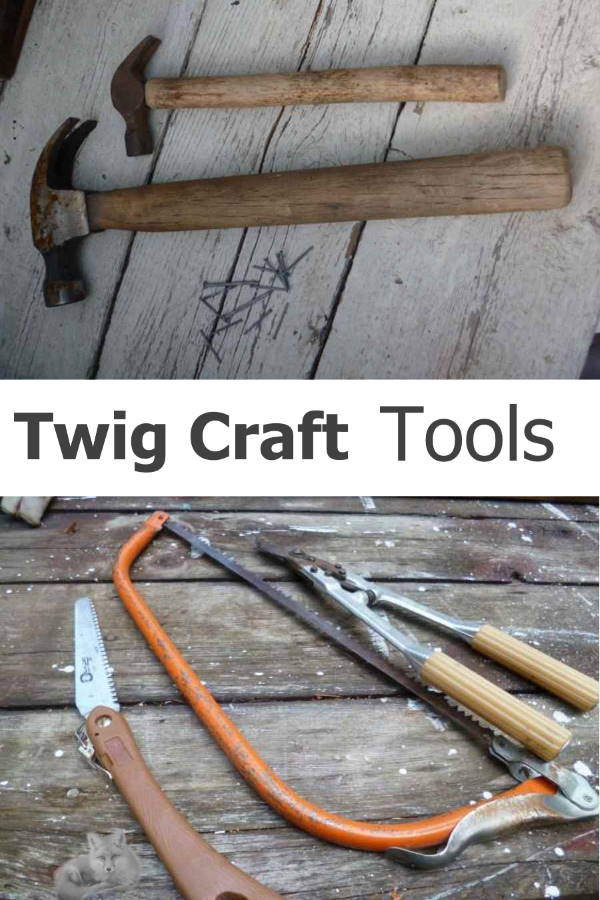
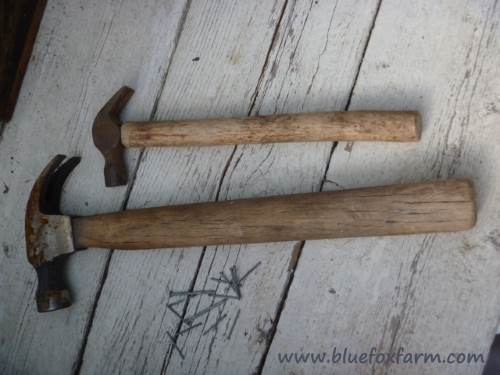
Hammer – I use several hammers of different sizes depending on what I’m making. The smaller the head, the more force it will apply.
Carpenters saw, electric jig saw, pruning saw – any of these will work well for the cutting of twigs and barnboards. Cordless types that run on rechargeable batteries are the most useful as they can travel anywhere.
Pruners – sidepass Felco pruners with sharp blades – learn how to sharpen and clean them for best results. Dull blades tear the tender bark of twigs.
Use these for cleaning off the small side branches or the ends of branches. Never twist the pruners when cutting, especially if you’re trying to cut a twig that’s too big as you’ll break the blade or worse, break the bolt holding the two blades together.
Not to worry though, most of the parts for all Felco pruners are available to purchase separately at Lee Valley and other mail order suppliers.
Loppers – sidepass Felco #17 loppers, for all the same reasons as the pruners. Spend a little more on these as they’ll be with you a long time.
Indispensable for taking on twig collecting expeditions, these are multi purpose and small enough to get right into a thick clump, while still possessing enough heft for some of the heavier twigs.
Rasp – I use one that has four different faces in two weights so you have many options. Use these to smooth off the edges of the twigs, which will prevent or slow the peeling of the bark.
Sandpaper – several grits for different uses. Another name is garnet paper, which is the same.
Wire
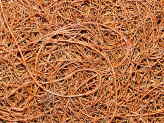
– I like tie wire that is used for concrete work and tying re-bar.
It’s flexible, dark coloured and will rust nicely to the same shade as
twigs, becoming almost invisible. You can use other wire such as copper
for those really special crafts if it’s available. This will age into a soft green color, known as verdigris.
These basic tools for building your crafts can be added to as needed. I like to keep a carpenters level and mitre box in my tool box as sometimes they are needed too, as well as a selection of Ardox twist nails and drywall screws in various lengths and thicknesses.
Find out how to use all these tools on the page about Twig Craft Techniques.
Learn how to build your very own
Rustic Furniture and Garden Crafts;
(Click on the picture and buy your download now)
You'll need these;
My favorite loppers are the Felco line; they are strong and reliable, you won't need to replace these in your lifetime.
Their pruners are equally as good quality, if taken care of, they too will last a long long time.
Cabinet makers often have two or more hammers of various sizes, depending on the nails they're using and the type of project.
Sidecutters to cut the wire you'll be using.
Tie wire to attach the pieces of twigs together.
A half round rasp to clean up the ends of the twigs and take off any protruding twigs.
There are lots of choices for drill bits; find the set that suits your needs and the sizes you'll use the most.
Sandpaper of many grits is essential for finishing the ends of twigs and any pieces of actual lumber you might use.
If you're curious how broken pots, twigs and wire combine into magic, let's explore creativity in action.
Fill in the form below for your copy;
(Don't be disappointed - use an email address that will accept the free download - some .aol email addresses won't.
If you don't see your download within a few minutes, try again with another email address - sorry for the bother.)
