Branch Slice Ornaments
Twiggy Rustic Christmas
Jacki Cammidge, The Woman of Many Sticks, is a participant in the Amazon Services LLC Associates Program, an affiliate advertising program designed to provide a means for sites to earn advertising fees by advertising and linking to amazon.com. The cost to you, if you purchase something through my link, is the same.
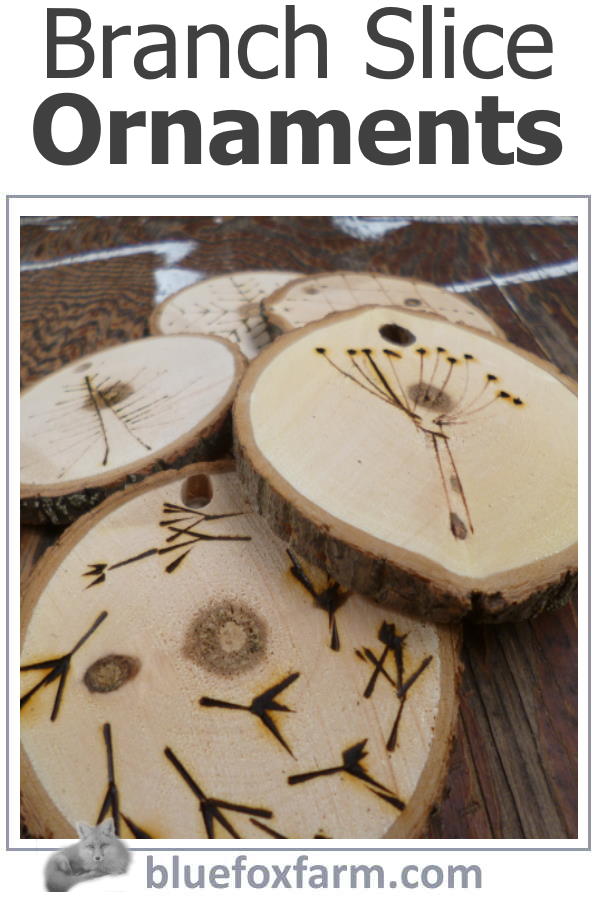
Got twigs? Make some rustic Christmas ornaments to decorate your tree out of slices of branches, with a wood burned pattern on each side.
The patterns can be different, or similar. Generally, if you allow it, you can produce a 'family' of designs, so they resemble each other but are not identical.
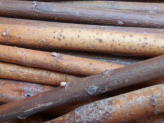
I've had a whole lot of maple branches stored away, drying out. These were pruned from a large old tree, and there are at ten or more branches that are between three and six inches across, perfect for this craft.
Lichen and moss grew on the bark, so I brushed the whole thing with a wire brush before cutting them into slices. Way easier to do it prior to that step.
These branches were cut in the summer, so the bark won't 'slip' or come off as easily as if you cut them in the early spring.
You can use whatever kind of tree branches you can find, these maple ones were what I have on hand.
Cutting them with a chop saw to the right thickness is not for the faint of heart. I don't like using noisy machinery, so my helper took care of this part.
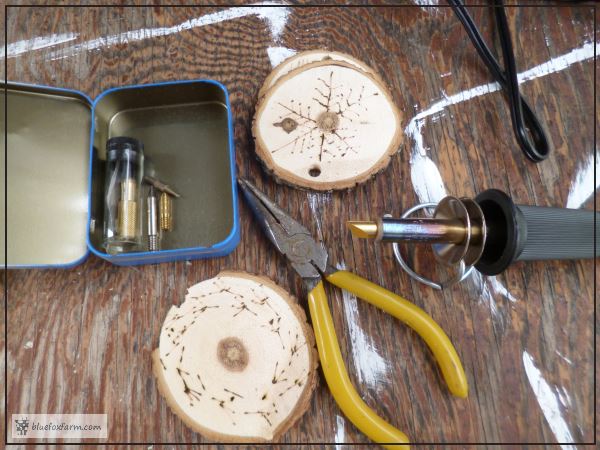
I drilled a hole through each one so it can hang from a tree or a garland. It's best to have the drill going really fast so it doesn't leave burrs or rough spots. Don't push too hard, or you may risk breaking the slice, depending on how thin they are.
The best thickness seems to be about 1/8" to 1/4" thick. The thinner the pieces, the more fragile - they'll check or split if they're too thin.
That will sometimes happen anyway, but it's not as likely that the whole thing will fall apart if it's thicker.
A wood burning tool is like a soldering iron, with several different ends so you can get various textures. Time to have some fun!
Supplies you'll need for this project:
Wood burning tool like this one, from Amazon. Unfortunately, at this time, there doesn't seem to be a cordless option, just one with a cord, which could get in the way.
An item that might be worth buying if you're going to get into leather work as well is this 116pcs Wood Burning Kit, Professional Wood Burning Tool.
If you're not supplying your own rounds you'll need something like this pack of 30 Pcs Natural Wood Slices.
There is also a book that might be useful called Pyrography Basics - I highly recommend buying it, or look for it at your local library.
Take a look at this page of wood burning ideas, and see more on how to do pyrography here. What will you come up with for your next craft?
If you're curious how broken pots, twigs and wire combine into magic, let's explore creativity in action.
Fill in the form below for your copy;
(Don't be disappointed - use an email address that will accept the free download - some .aol email addresses won't.
If you don't see your download within a few minutes, try again with another email address - sorry for the bother.)
